
If you’ve ever had a bad experience trying to redline a contract, you might prefer to steer clear of the process altogether. Yet avoiding this step isn’t an option with many business contracts.
So let’s look at how to redline contract details efficiently. Or at the very least, how to avoid endless rounds of versions, and discussions!
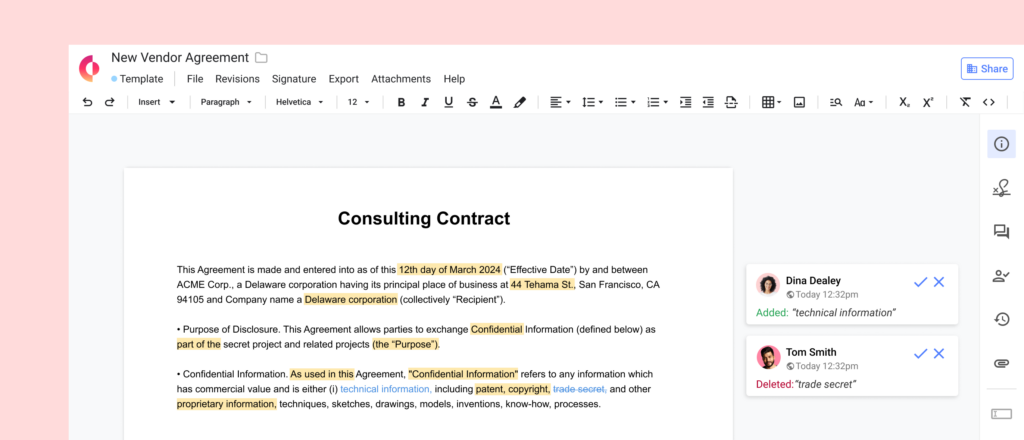
Redlining a contract means reviewing and suggesting changes to a draft. Redlines in a contract are the visible marks indicating these proposed edits, comments, or suggestions. This process allows all parties to negotiate terms and clarify intentions before finalizing the agreement.
When you redline a contract, you’re making sure each clause receives careful consideration — fostering a transparent and collaborative contract negotiation.
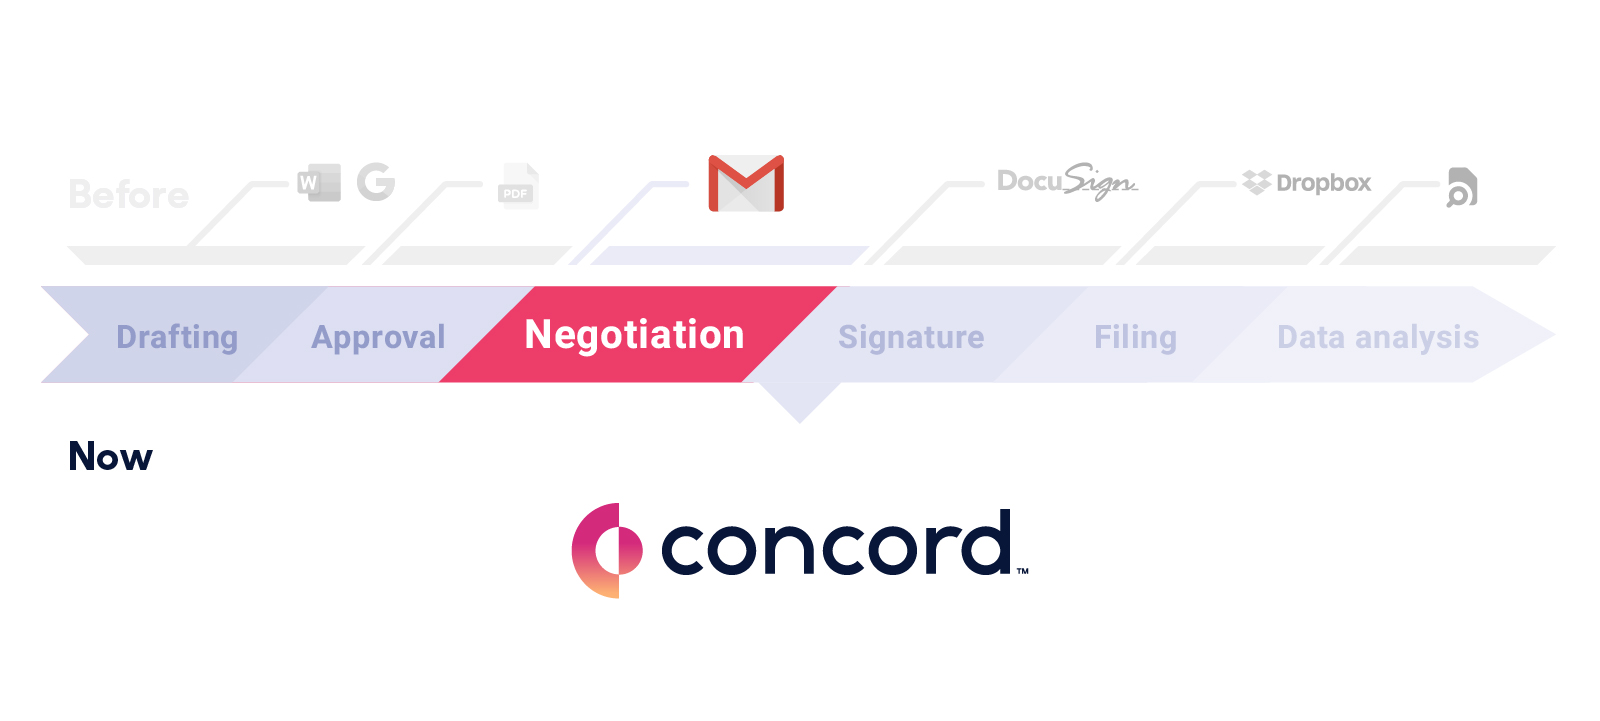
Contract negotiation and contract redlining are the third stage of the contract lifecycle.

Here are all the contract lifecycle stages:
The redlining and contract negotiation process falls just after the contract drafting phase and the internal approval workflow . After negotiation, you’ll manage the contract through signature, contract storage, and lastly, through tracking deadlines and contract renewals.
Understanding how the contract redline process works can make your negotiations smoother and more effective. Here’s what typically happens.
The process starts when you receive the initial contract draft. One party has prepared this draft, setting out the proposed terms and conditions.
You then go through the draft and mark up any changes you suggest. These redlines might include additions, deletions, or modifications to the contract’s terms.
Following your proposed changes, you and the other party engage in a discussion. This stage involves exchanging ideas and finding common ground on the contract’s terms.
After agreeing on the changes, one party incorporates these into the draft. This step results in a revised version of the contract that reflects the agreed-upon changes.
Both parties then carry out a final review of the updated contract. You check that it accurately reflects all the negotiated terms. If everything is in order, both parties sign the contract, making it official.
This process aims to create a contract that meets the needs and expectations of everyone involved.
The person who draws up a contract is typically either your attorney, a contract manager, a business owner, a project manager, or the person responsible for landing the deal. This is the main editor, alongside Legal. This person should be responsible for editing grammar, and assuring the terms are agreed to and correct.
Legal should only be responsible for reviewing whether the contract is enforceable, and revising any terms that are not legally viable. They are crucial to the contract redline process.
The executive team, business owners, or department leads can all be decision-makers in the process. Determine who has final decision-making abilities first. This is a crucial step to making negotiations smoother and faster.
Stakeholders include everyone listed above, as well as team experts, such as procurement analysts, financial analysts, or researchers.
The most important aspect is how you manage the workflow between these parties. The process should be clear, and allow enough room for all parties to offer feedback.
Additionally, always communicate the expected time commitments for each party to provide revisions.
Successfully redlining contracts requires a strategic approach. Here are some tips to help you navigate this process effectively.
Before you start redlining, fully understand the original contract. Know what each clause means and how it impacts the agreement. This knowledge guides your redlining decisions.
When you propose changes, make your language clear and direct. Avoid ambiguity to prevent misunderstandings and make your intentions clear.
Focus on the most important changes first. Not all parts of the contract will require revisions, so prioritize the ones that significantly impact the agreement.
Aim for changes that benefit both parties. This approach promotes a more collaborative and positive negotiation atmosphere.
Keep track of all changes and versions of the contract. An organized approach helps prevent confusion and helps make sure you don’t overlook any important details.
Sometimes, you’ll need to compromise. Be open to alternative solutions that still align with your key objectives.
Before finalizing, thoroughly review the redlined contract. Double-check that all changes accurately reflect the agreed-upon terms.
Following these tips can make the redlining process more efficient and effective, leading to a mutually beneficial contract.
Navigating contract redlines requires a balance of assertiveness and flexibility. Here’s a list of key do’s and don’ts to keep in mind.
Remembering these do’s and don’ts can make the process of redlining contracts more efficient and effective, leading to a clearer and more satisfactory agreement for all parties involved.
To redline a contract, you’ll need to turn on “Track Cnages” or similar functionality in your text editor, to make sure your changes appear clearly marked as redline edits. Follow these steps to navigate the process.
Use functionality like “Track Changes” in Microsoft Word or the “Suggesting” feature in Google Docs. These help track edits and simplify review.
Explain your changes with comments. This clarifies your reasoning, aiding smoother negotiations.
Keep changes clear and to the point. Avoid complex language or unnecessary alterations.
If you’re using Concord, review your changes in the app. Concord’s tools aid contract management and redlining.

Before finalizing changes, discuss them with relevant stakeholders, to make sure they approve of your changes.
After completing redlines, share the document with the other party. Make sure both sides review the same document version.
After you’ve followed these steps and shared your redlined document, you’re well-prepared for productive negotiations that can lead to a mutually agreeable contract.
Now that we’ve covered some general recommendations for contract negotiations, let’s dig a little deeper and explore the five steps of redlining in detail.
Start by gathering information. Understand industry standards, regulations, and the history of the other party. Being well-informed not only boosts professionalism but also fosters a reputation for being knowledgeable and cooperative. Preparation with reasonable requests can pave the way for positive future relations.
Include your legal team from the beginning. They’re not just rule enforcers but valuable allies. Their expertise improves contractual compliance and helps craft a contract that minimizes liability and maximizes clarity. They can also spot potential omissions and provide critical legal insights.
Engage various departments like Procurement, Operations, or Sales in the review process. This diversity of perspectives reduces errors and enhances the contract’s thoroughness. Implement a system to organize feedback, making sure all changes are tracked and the final version is consistent.
Once internal edits and legal reviews are complete, real negotiation begins. Clear communication is vital here. Use Cloud-based platforms for centralized discussions, allowing team members to contribute and access the contract’s evolution, regardless of location or time zone. This approach increases clarity and maintains a comprehensive record of the negotiation.
Recognize when to discontinue negotiations. If the redlining becomes too one-sided or an agreement seems unreachable, it’s sometimes best to step back. Ending negotiations can be preferable to entering a disadvantageous agreement. Always weigh the long-term implications of continuing versus walking away.
Each of these steps plays a crucial role in redlining a contract, guiding you towards a balanced and beneficial agreement.
Here’s a list of tools tailored for a variety of needs in the contract redlining process.
Each tool serves distinct functions, from drafting and collaborative editing to finalizing contracts with electronic signatures.
With the right approach and tools, the redlining process becomes more manageable. By understanding the contract thoroughly, using clear and specific changes, collaborating effectively, and utilizing specialized tools, you can navigate this essential stage of contract negotiation with greater ease.
Remember, the goal is a clear, mutual agreement that benefits all parties involved. With these strategies, redlining a contract can shift from a daunting task to a more straightforward, even productive, part of doing business.